I love making scrunchies. They are simple, easy to make and fun to wear in your hair with any outfit. I sold loads of scrunchies at craft fairs and even got orders from girls at work.
I thought it would be fun to teach you all how to make your own scrunchies. So, grab your drink of choice (I love a breakfast tea or Chai Tea Latte) and meet me back here to begin making!
Have you got your drink and your comfies on? Good, so lets get crafting.
First, you will need…
- Fabric (enough to cut a strip that is 20inches long by 3 inches wide)
- Sewing machine (optional, you could also sew by hand)
- Stick/knitting needle to turn it inside out with
- Elastic (I use 6mm thickness)
- Safety pin
- Hand sewing needle
- Thread to match the fabric
Lets Get Making…
- First, choose your fabric and cut a strip that is 20 inches long and 3 inches wide. If you have character fabric or just want a thicker scrunchie, I’d recommend making it 5 or 6 inches wide.
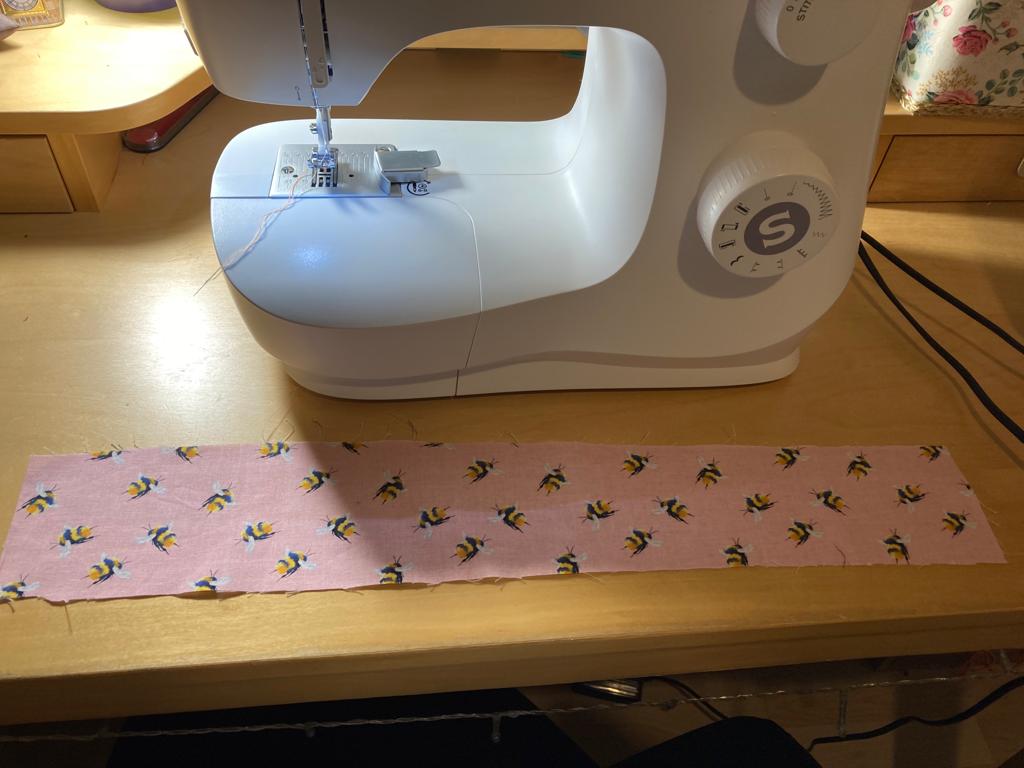
2. Fold it in half length ways with the right sides together.
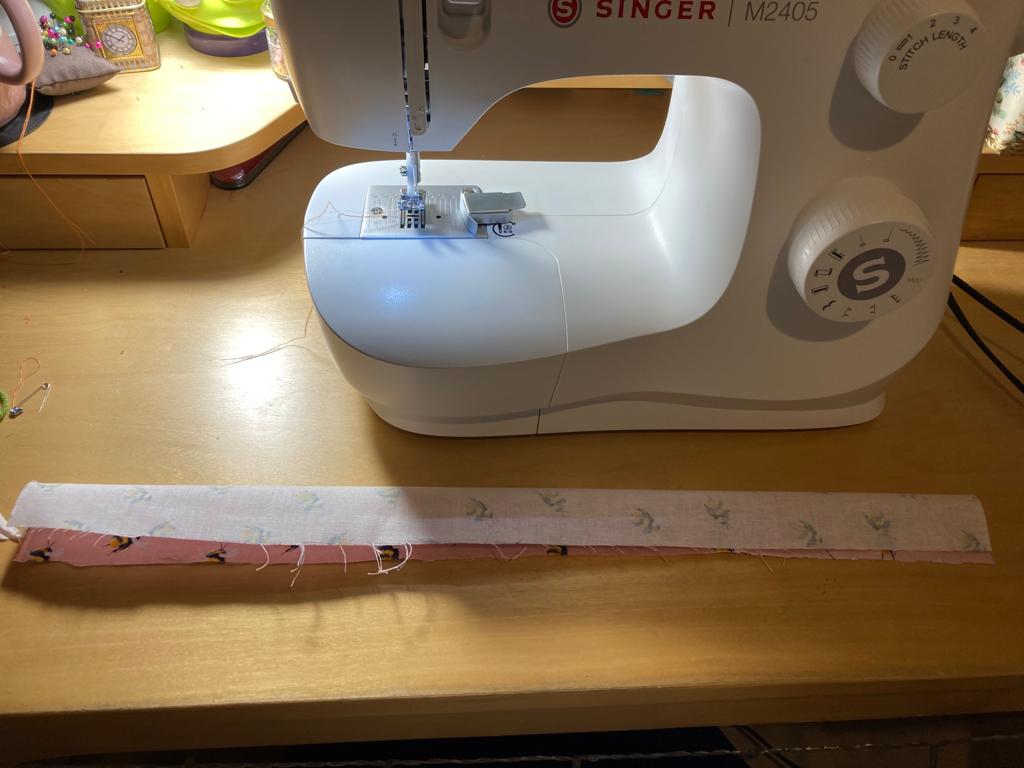
3. Sew down the length of your fabric – either on the sewing machine or by hand (I always machine stitch mine). Remember to back stitch at the beginning and end to secure your stitches.
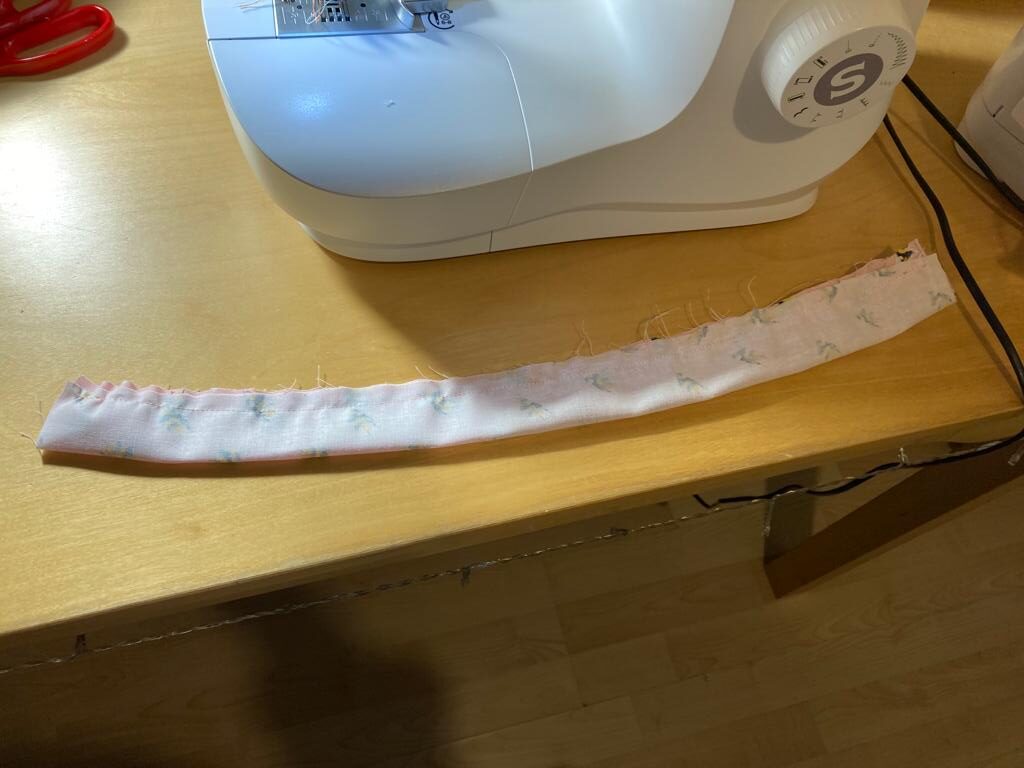
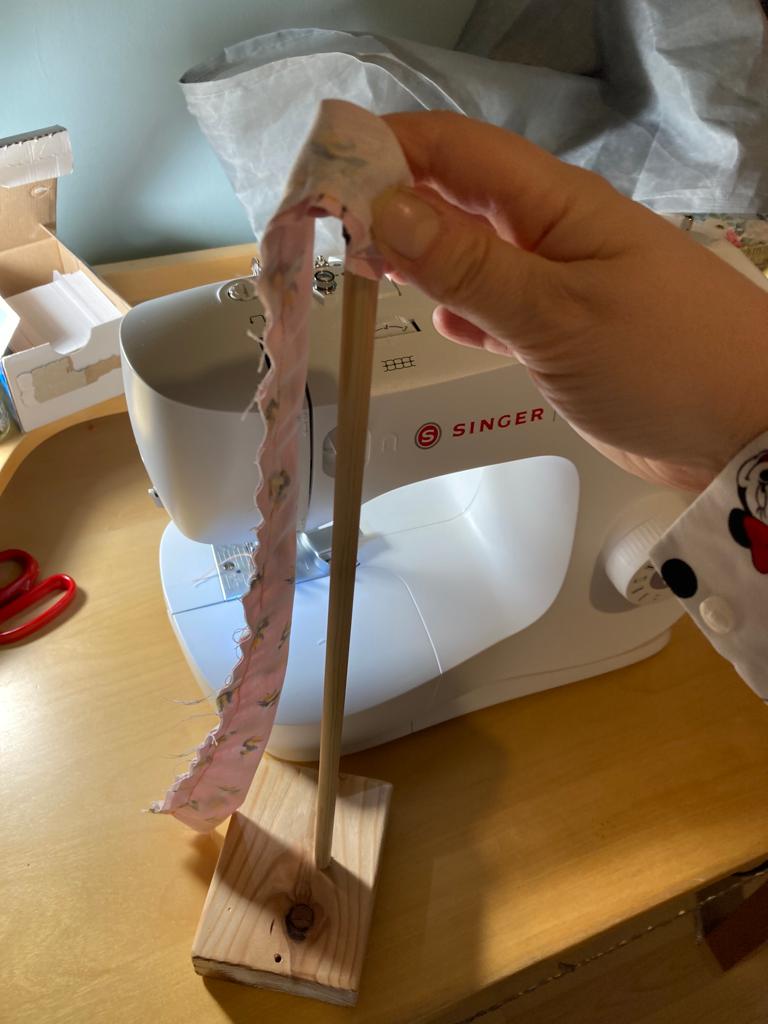
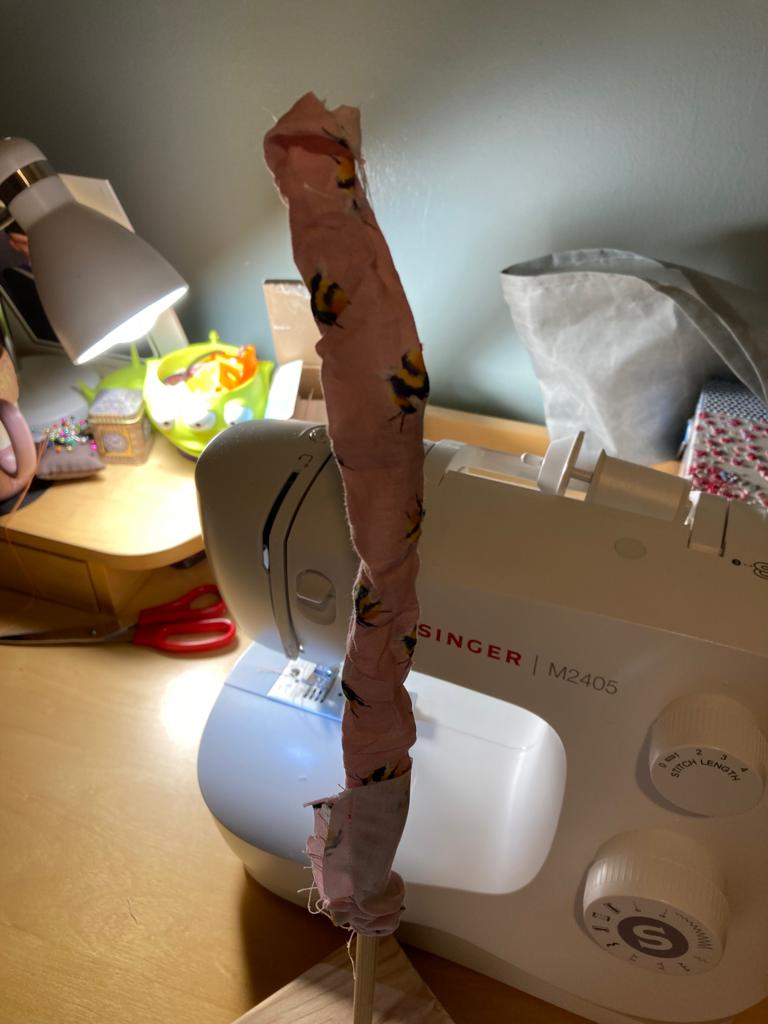
4. Now this is the tricky bit, turn your fabric that you have just sewn inside out using a stick, knitting needle to help you. My dad made me a really useful “scrunchie stick” which is what I use but a knitting needle or skewer works.

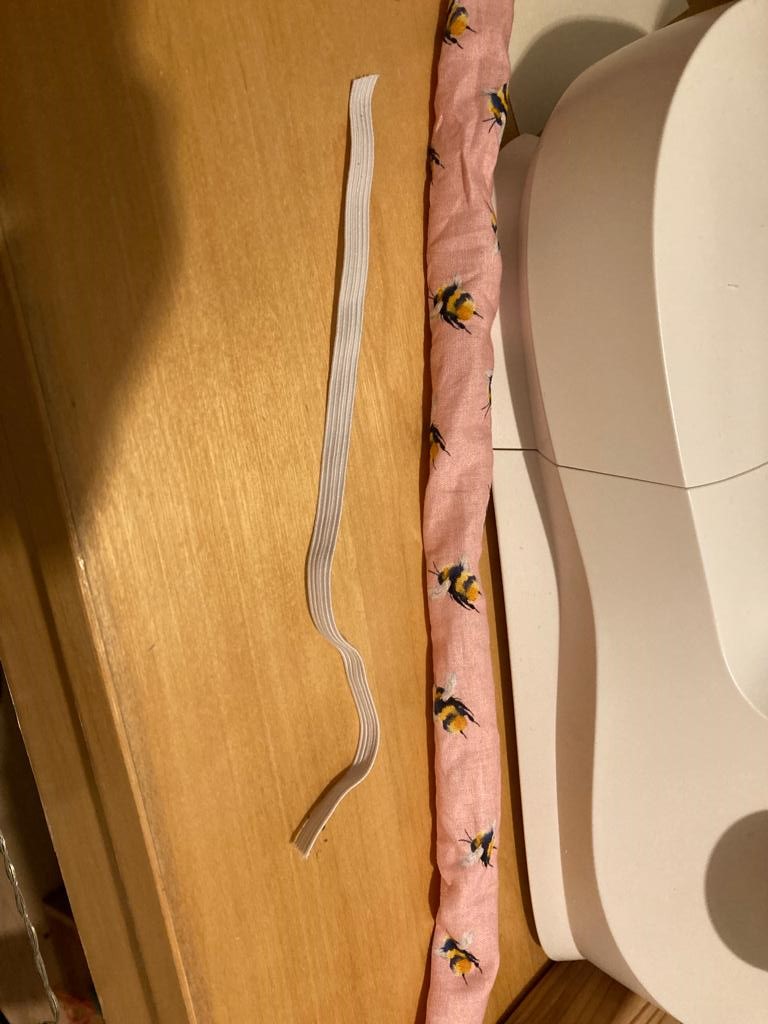
5. Cut a piece of elastic about 10 inches long and attach a safety pin to one end. Then thread it through your fabric, when you have threaded it all the way through, knot both ends of the elastic securely together and pull. I knot about 5 or 6 times to make sure it doesn’t come undone. Cut the ends fairly close to the knot.
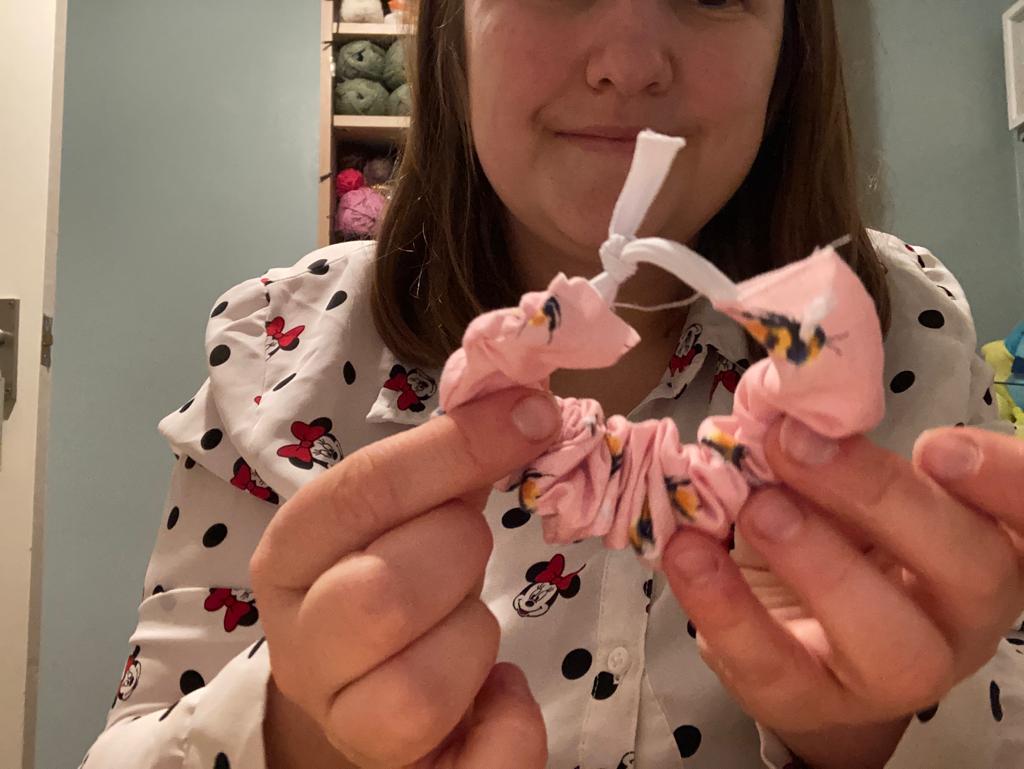
6. Join the fabric together by hand sewing all the way around. I fold the edge over to make it look neat.
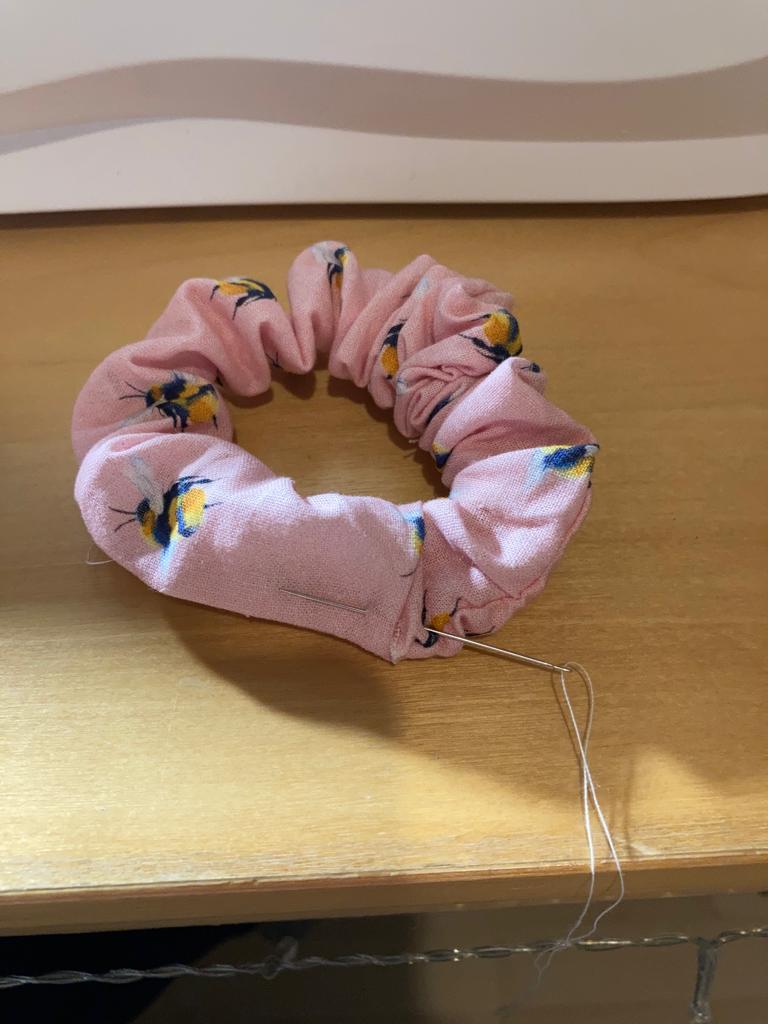
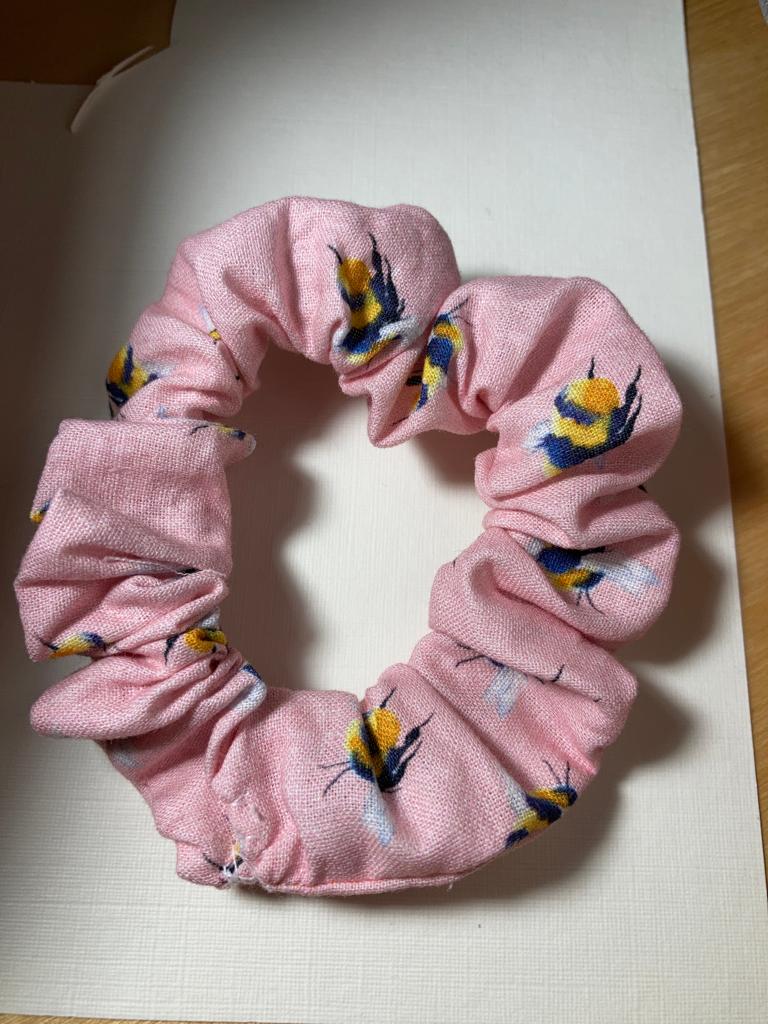
Now you have a scrunchie. Why not make more to give to all your girl friends.
I’d love to see how you got on with making your very own scrunchie. Share your work on Facebook or Instagram with the hashtag #amyknittedbitsscrunchie and tag @amyknittedbits in your post. If you have any questions, please feel free to message me over on Amy’s Knitted Bits Instagram or Facebook page.
I filmed a video with bits of speeded up footage of me making my scrunchie so you can see it more clearly, hope this helps…
Happy Crafting. 🙂